
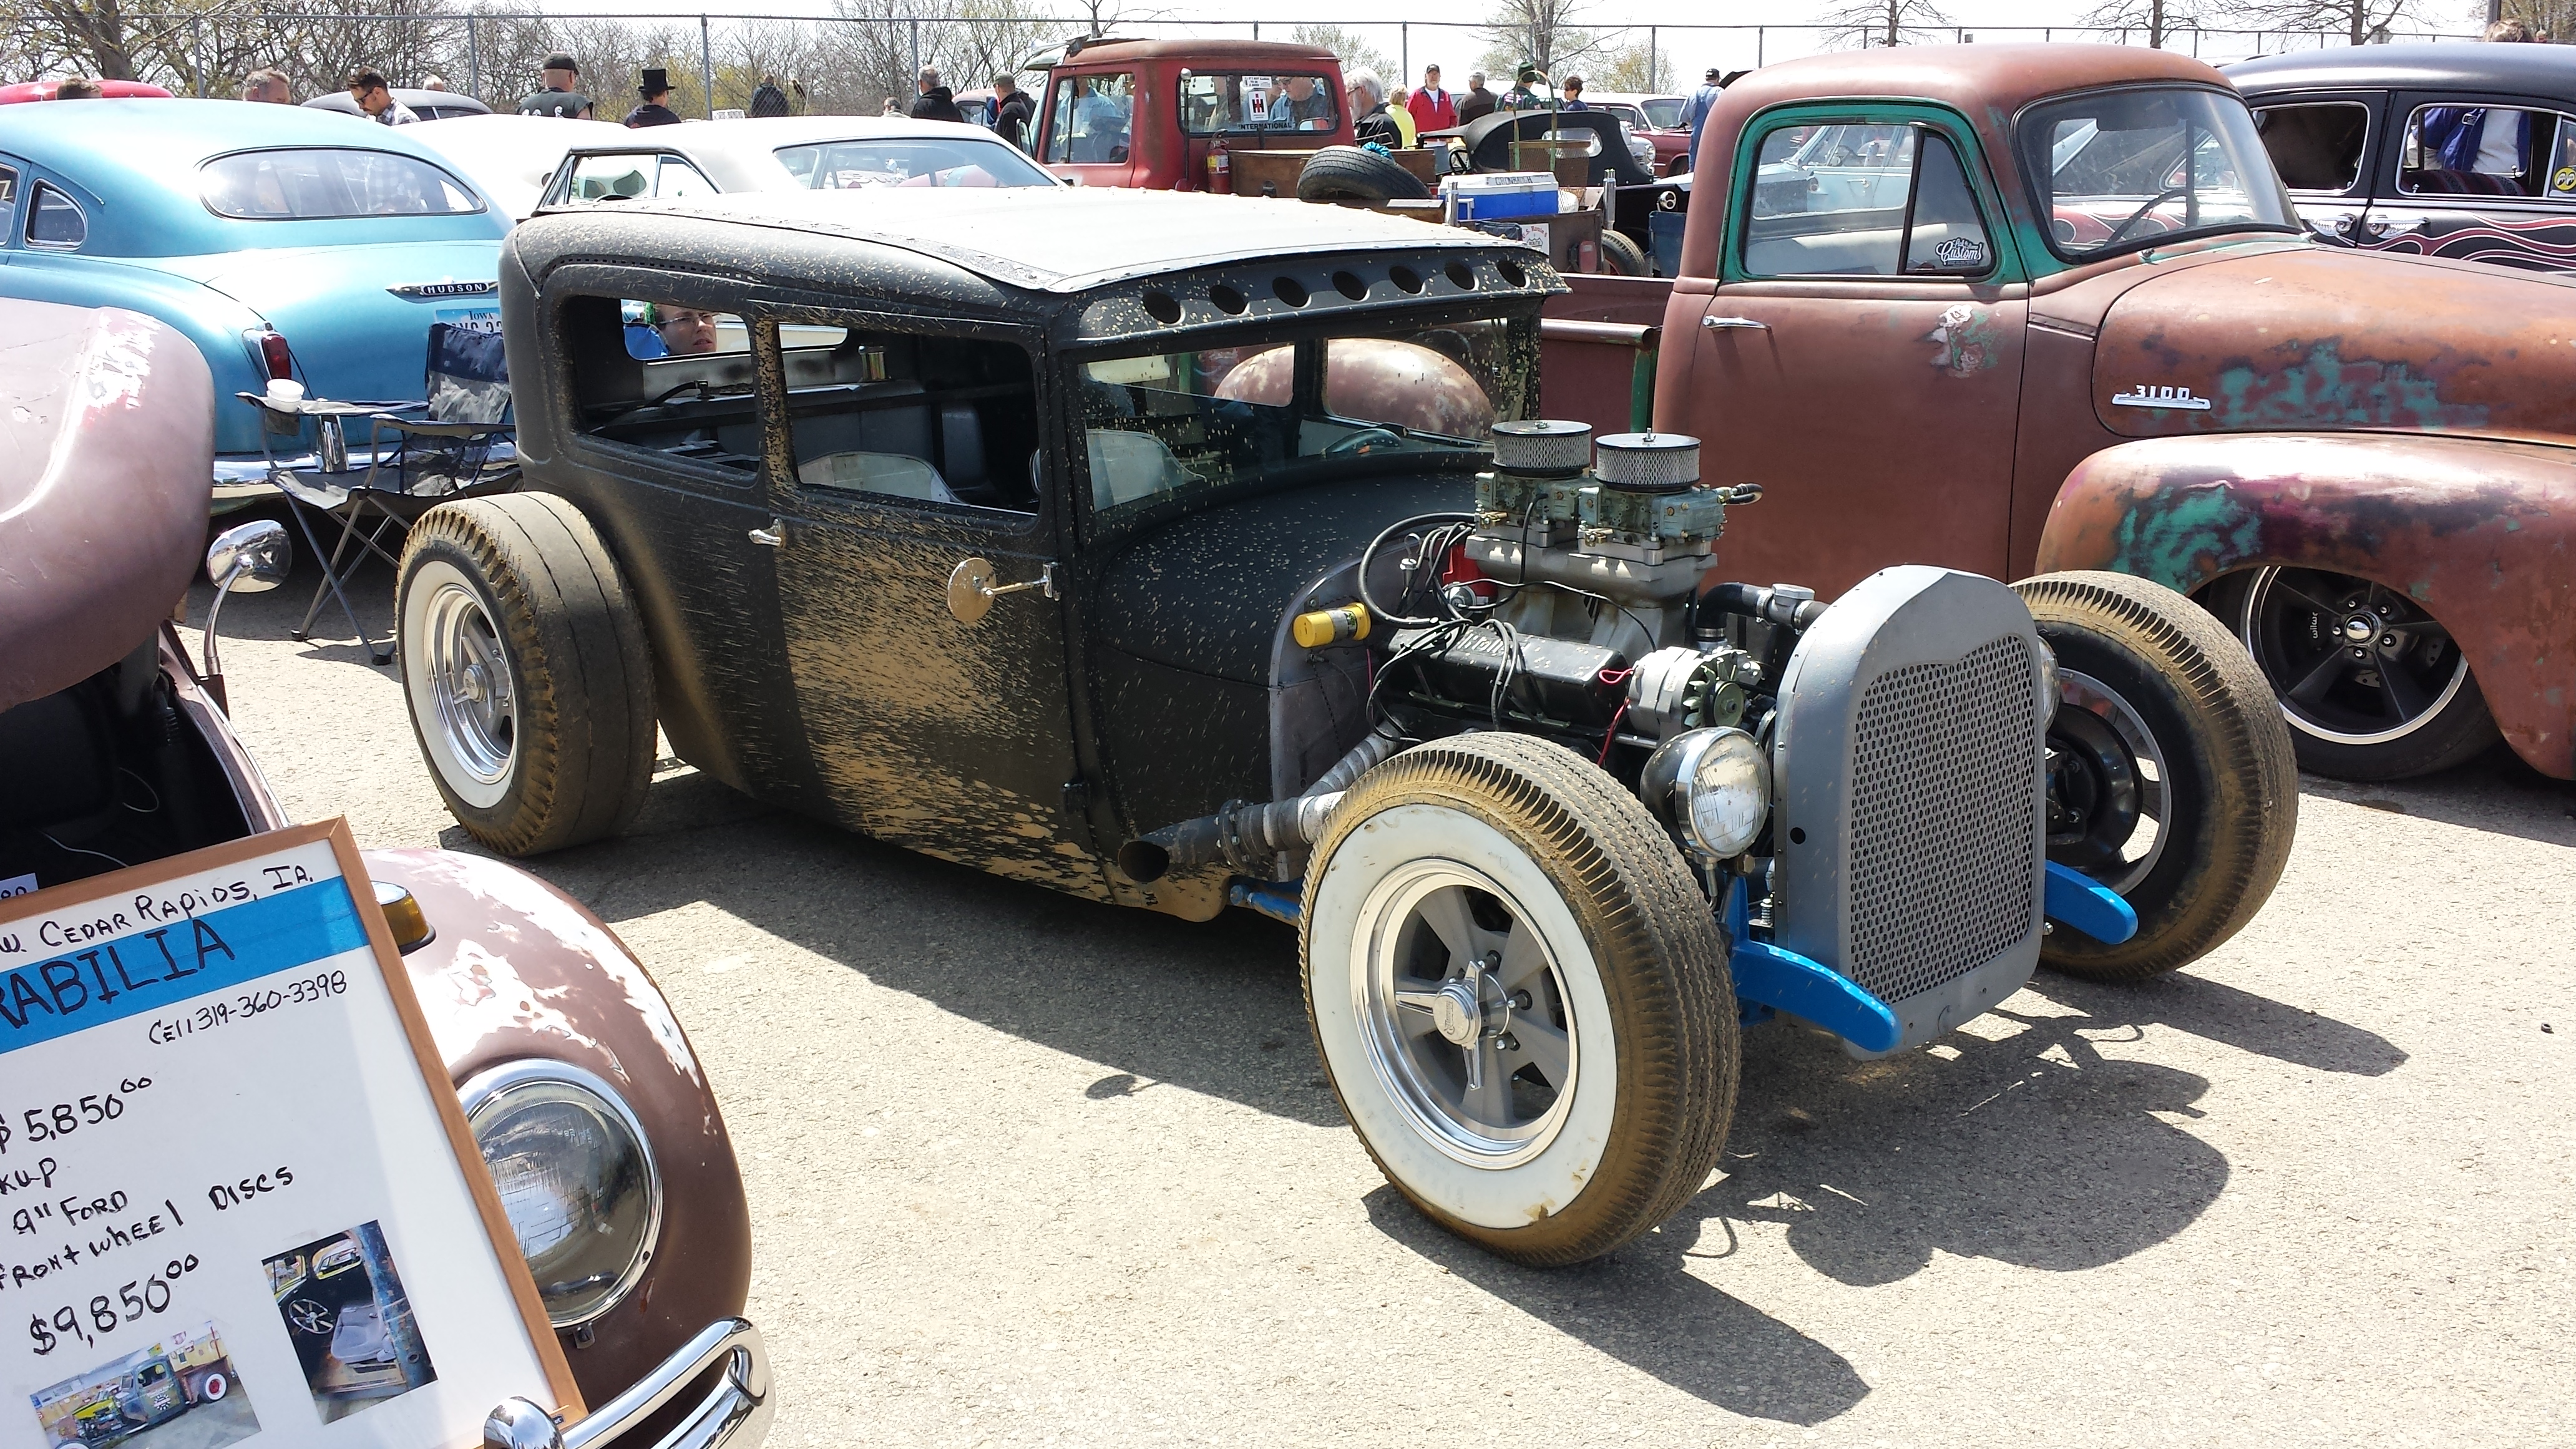
A rat rod with long tube headers.
Quartermile:
Headers let your engine breath better, thus increasing performance, speed, acceleration and fun factor!
Use rubber gloves when using paint to avoid paint on your hands and to avoid getting your hand oils on the headers after you have cleaned them, before painting.
Header wrap or High temp paint, or both can be used to protect headers.
The Full Monty
First, if you are newer to engines and modifying them, or if you are an old hand even, you should watch this video and hopefully you can get an idea of the basics of how an engine works. https://www.youtube.com/watch?v=60QX5RY_ohQ
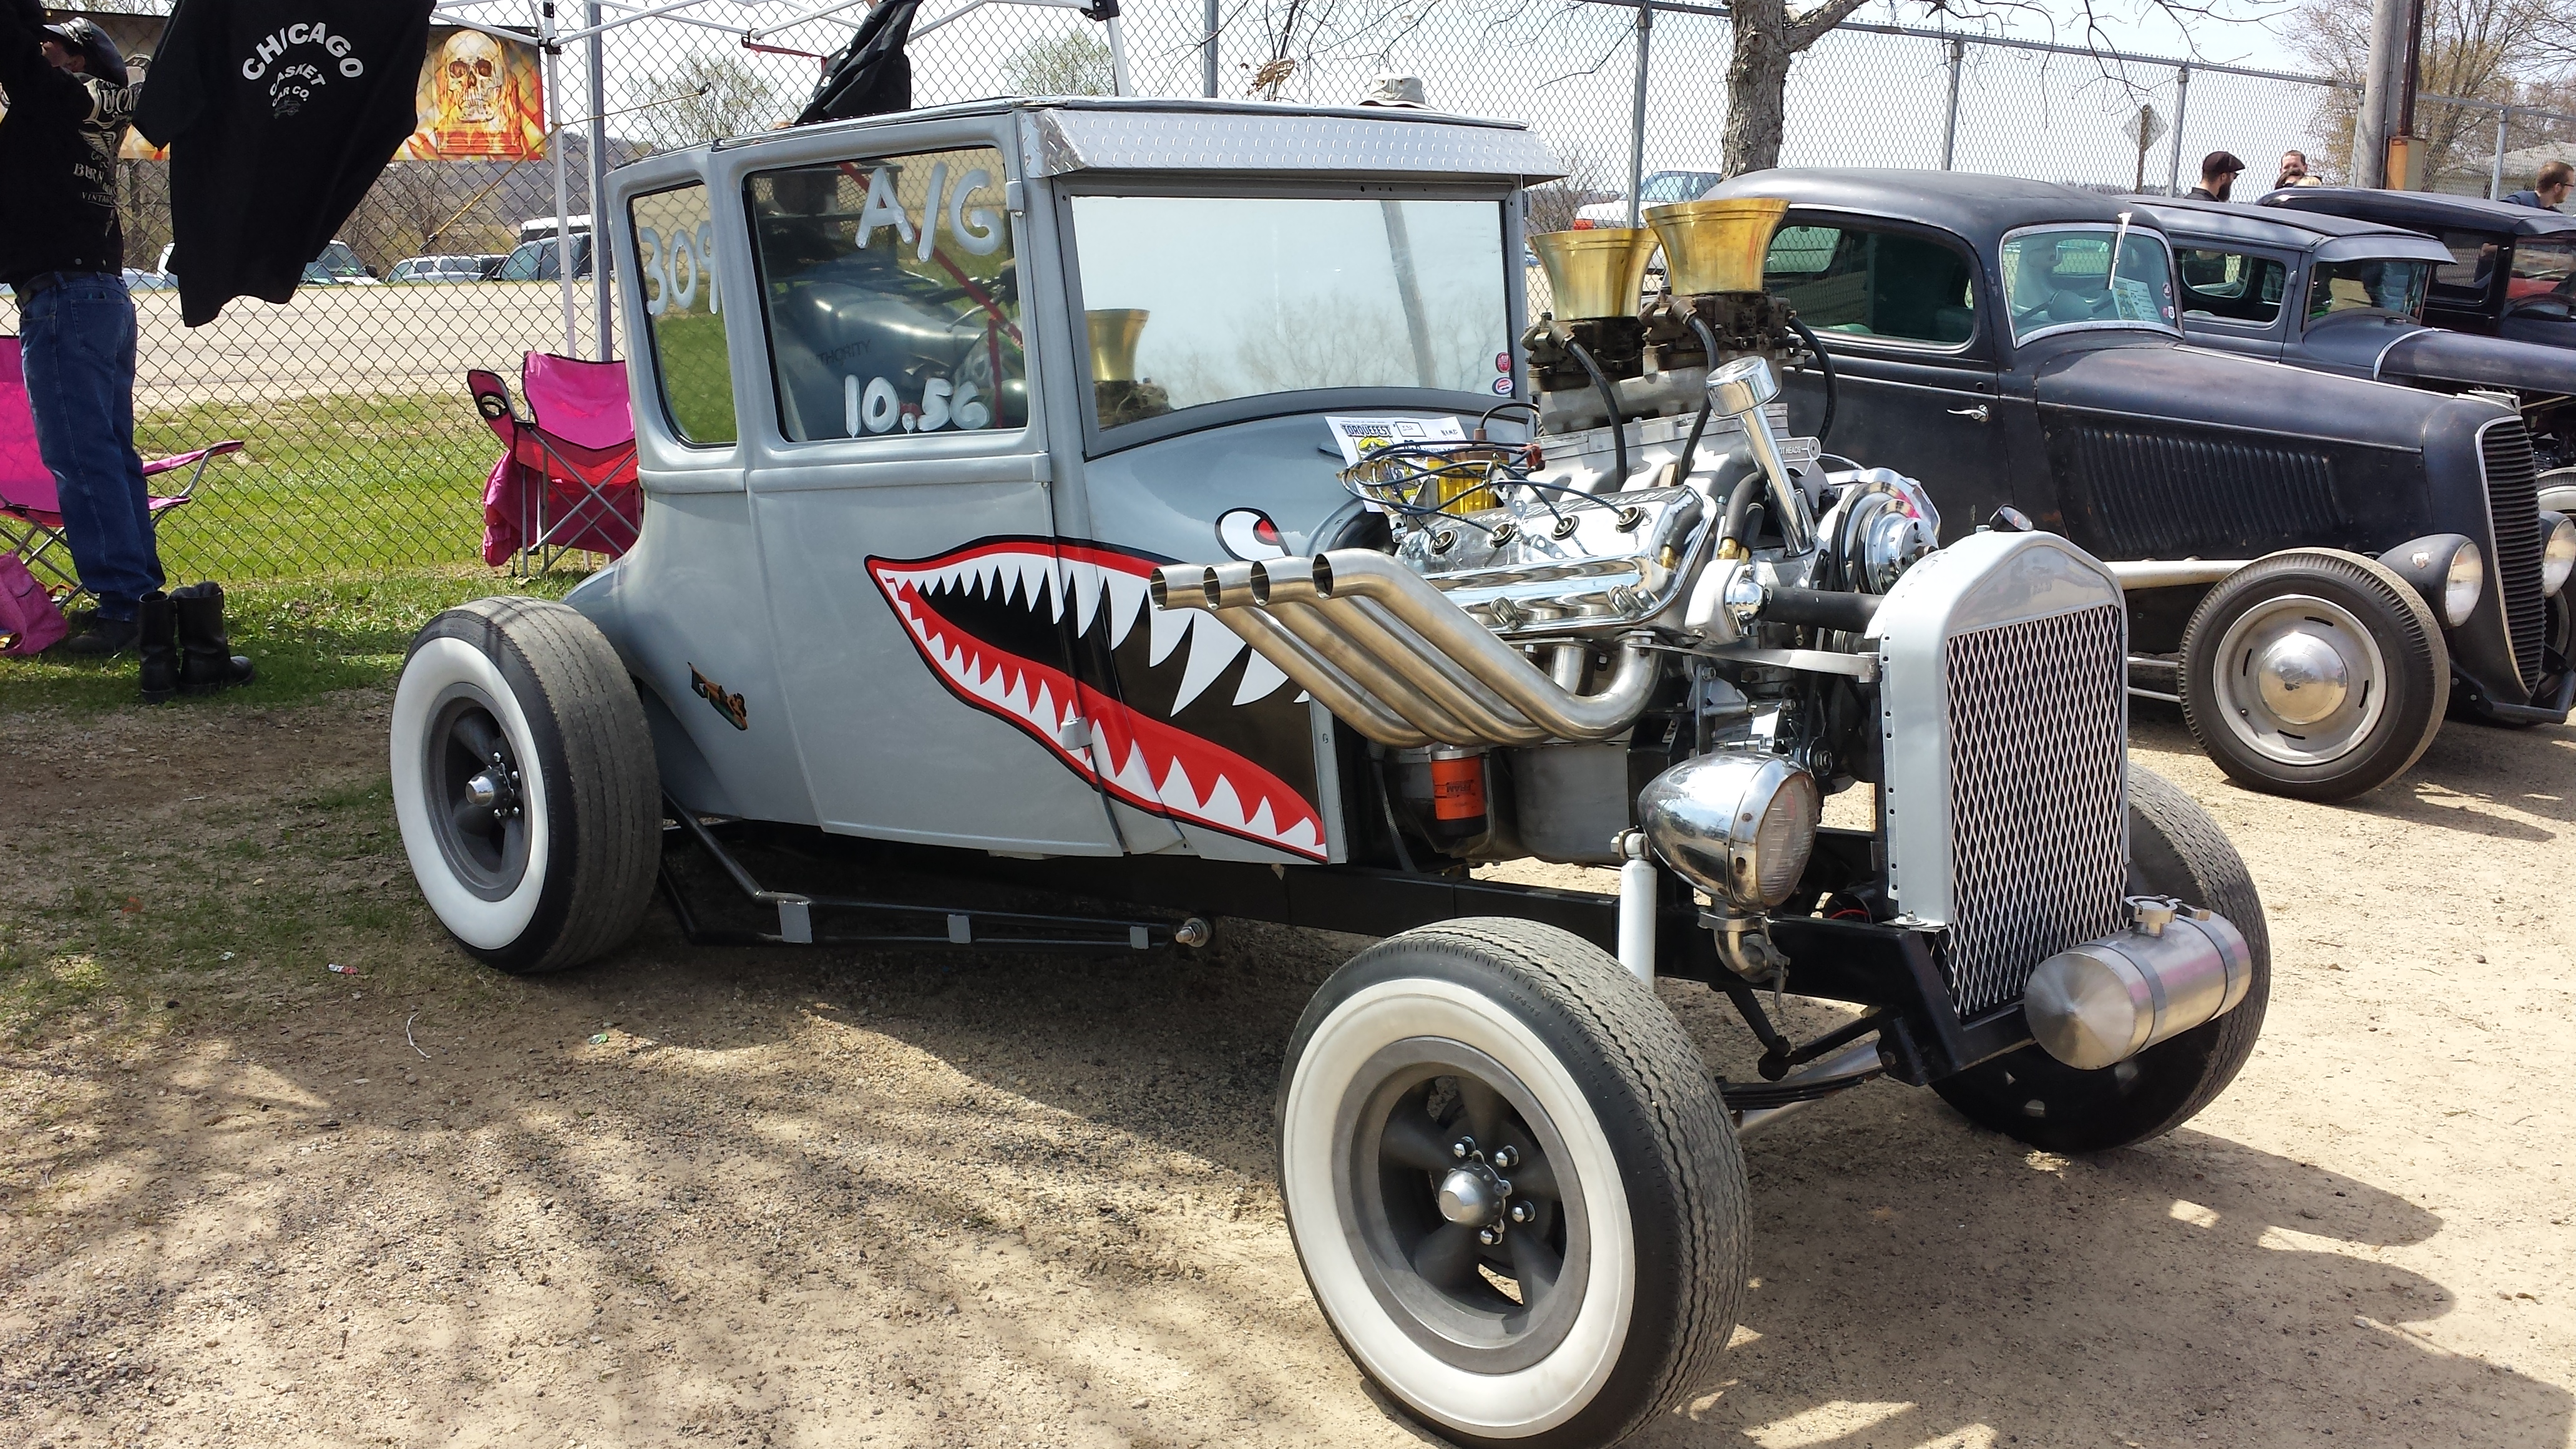
This Model T Ford is a mixture of Gasser and Rat Rod. It’s mostly for fun, and not so much for actual performance. This engine has a straight pipe for each cylinder. They are actually about the best you can get for flow, unless you start dabbling in tuned length runners, etc. It’s really an independent header for each cylinder. I think it’s awesome!
If you are reading this you just might be interested in making the engine perform better in your vehicle of choice. I will use the old old old old analogy, “The engine is an air pump.” If you can get more air (and a corresponding amount of fuel) into the combustion chamber, and ignited, you will make more power and go faster. An important part of the airflow of the engine is the exhaust. This removes the used A/F (air/fuel) mixture out of your combustion chamber and gets it ready for a new mixture. Efficiently removing this air allows more new mixture in, thus making more horsepower.
There are many parts to your exhaust. After the valve and the exhaust port, the exhaust manifolds are the first part of the exhaust making up the system of pipes that lead the exhaust to the back of your car. Usually the factory exhaust manifolds are heavy and ugly. Thus, replacing them with headers is both an appearance upgrade, a weight saving (performance) and makes your engine develop more horsepower (performance x2!).Headers are a popular first or second upgrade for any engine. The best analogy I can give is a water hose. The manifolds would represent squeezing the hose right at the end closest to the water source, if you let that expand, you flow more water. This is in essence what headers do. You see why headers are so great!

These are exhaust manifolds. They do the same job as headers, but they don’t flow as good or make as much horsepower and often weight more because they are cast iron instead of steel tubes, which are thinner. Although headers could weight more because they are longer but they they make more horsepower.
There are a myriad of types of headers and I don’t have the space to write about all of them but I will give you the long and short of it, literally! The two most basic types of headers are called “Long Tube” and “Short Tube” headers. Gearheads like to keep it simple, so the names mean exactly what it sounds like, the physical tubes making up a long tube header are longer. See picture. Long tube headers generally make more peak horsepower, good for racing but they take up more underhood room as they are physically larger. Short tube headers generally are good for a street car because they are easier to install (smaller, less interference with other parts of the car) and they have good lower end torque (idle to ½ throttle) where you are typically driving a street car.

short tube headers

Long tube headers
There are various ways to protect your headers from the elements. The easiest would be to buy stainless steel headers. They don’t rust since they have a high chromium content (>10.5% by mass). Another expensive solution is to have the headers chrome plated. These are very attractive but also expensive. A third solution is to apply your own high temp paint which I will chronicle my experience with below. This is definitely the most “cost effective” method, approximately $50 in materials, max.
One more way to protect your headers is to wrap them. When wrapping headers I would still recommend painting them. The header wrap could actually absorb water and hold it on the headers. Header wrap also will keep your under hood temperatures down and greatly reduce the risk of burning yourself. They are popular on motorcycles and race cars.
This is a Model A Ford Sedan with header wrap. It’s barely visible behind the front tire, but it was the best picture I had, and again, sweet car. Picture is justified in my blog!
How to paint headers:
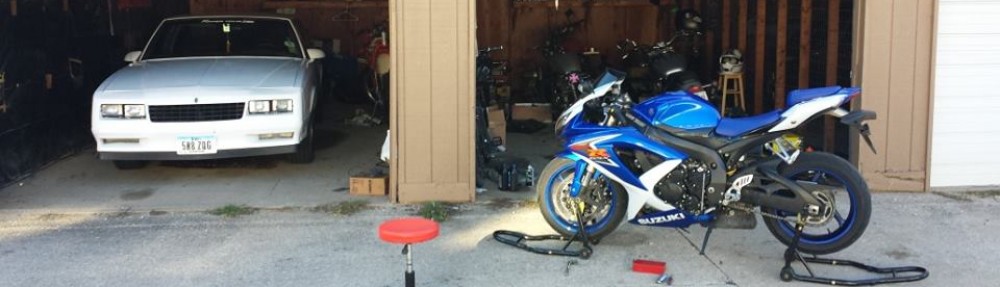
If you read about My Monte in post #2 https://mywheellife.com/2014/05/20/my-wheel-life-my-monte/
you would have noticed that headers were the first performance upgrade I did. That was 5 years ago and they have become rusty despite the anti-rust coating applied to them by the manufacturer when I bought them. I recently had some starter issues with that car and had to take the headers off to get the starter off. I took that opportunity to re-rustproof the headers. Since headers are the hottest exposed part of the engine they need special paint or coating to protect them from rust, normal paint will burn off.
The first thing you need to do is to remove the rust off the headers. They need to be stripped to bare metal. I used a wire wheel and a 3M varnish/paint remover pad, both mounted on a ½” drill. This worked a lot better, faster, easier than using sand paper. There are a few other ways you could remove the rust and paint. You could use an acid paint/rust stripper. I have never done this but that stuff is definitely abrasive to the hands. You definitely want to use rubber gloves when using that. I have heard it does a very good job cleaning them though. Another way would be a sand blaster, but I believe the drill works fastest and easiest in this case and with the least exposure to chemicals! It took approximately 30 minutes – 1 hour per header.
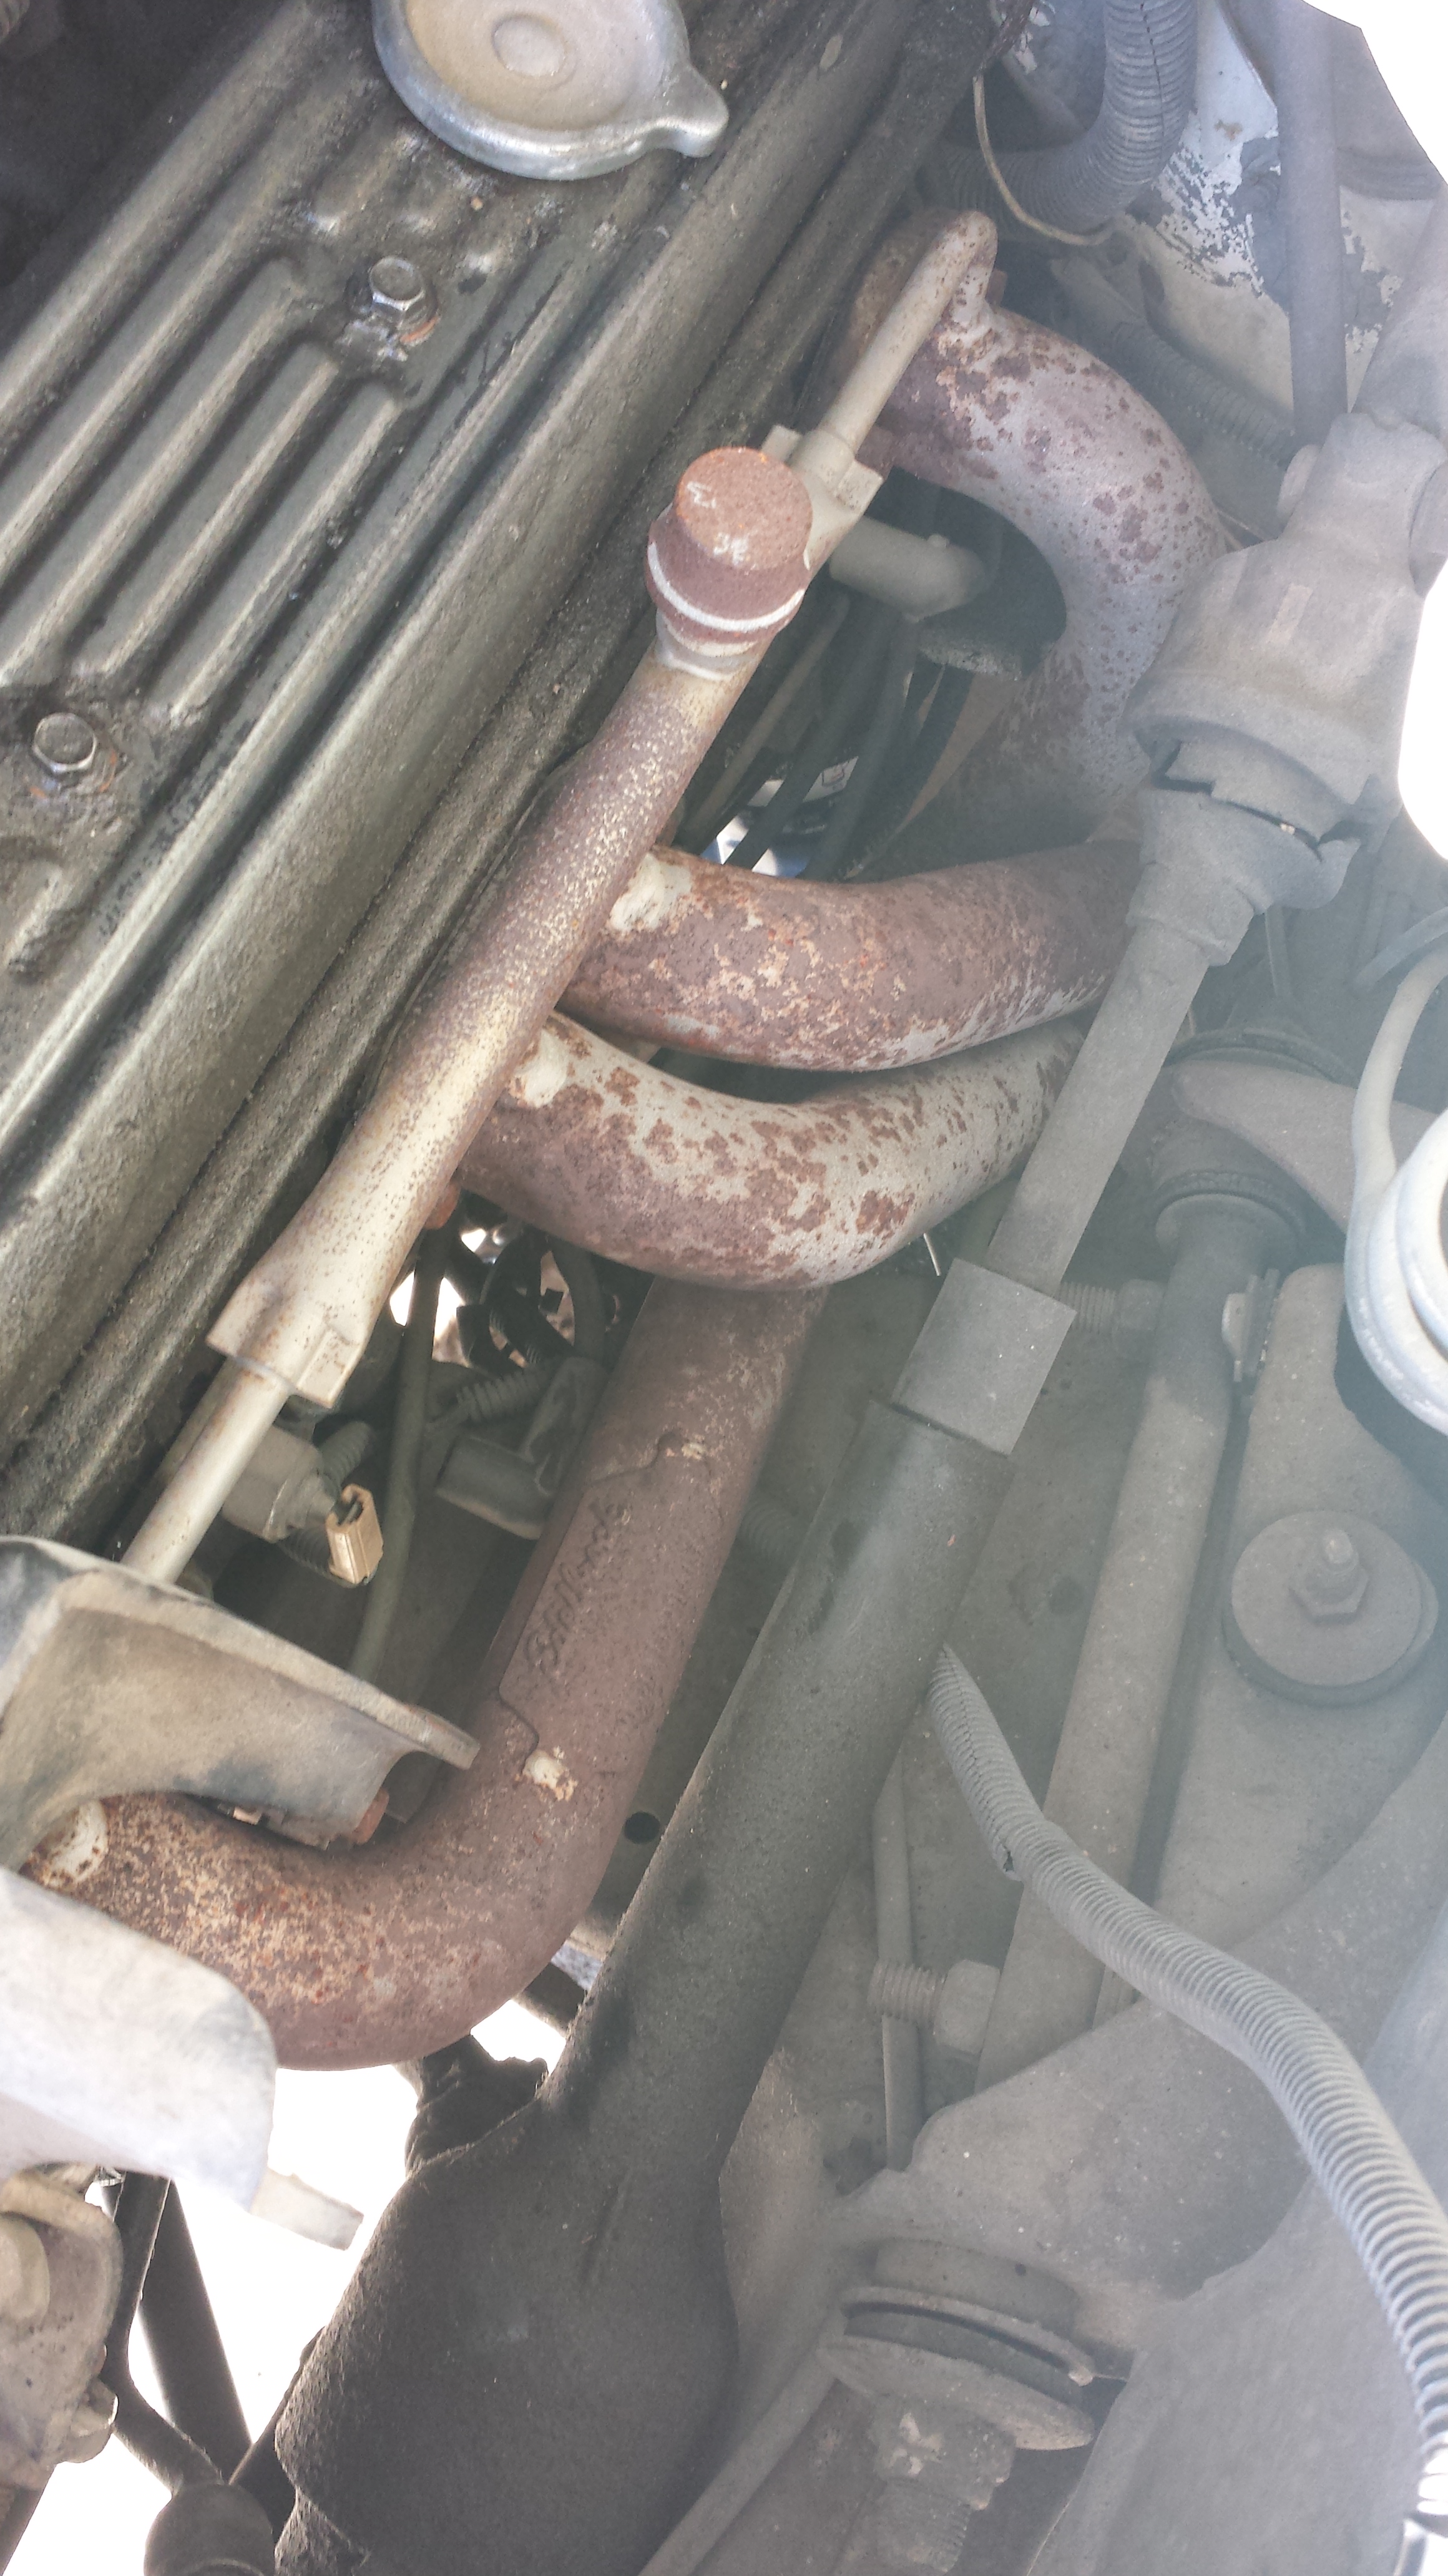
Headers as they started in the car. Rusty, ugly. Eventually they could have rusted through and I could have had an exhaust leak. That’s not good!
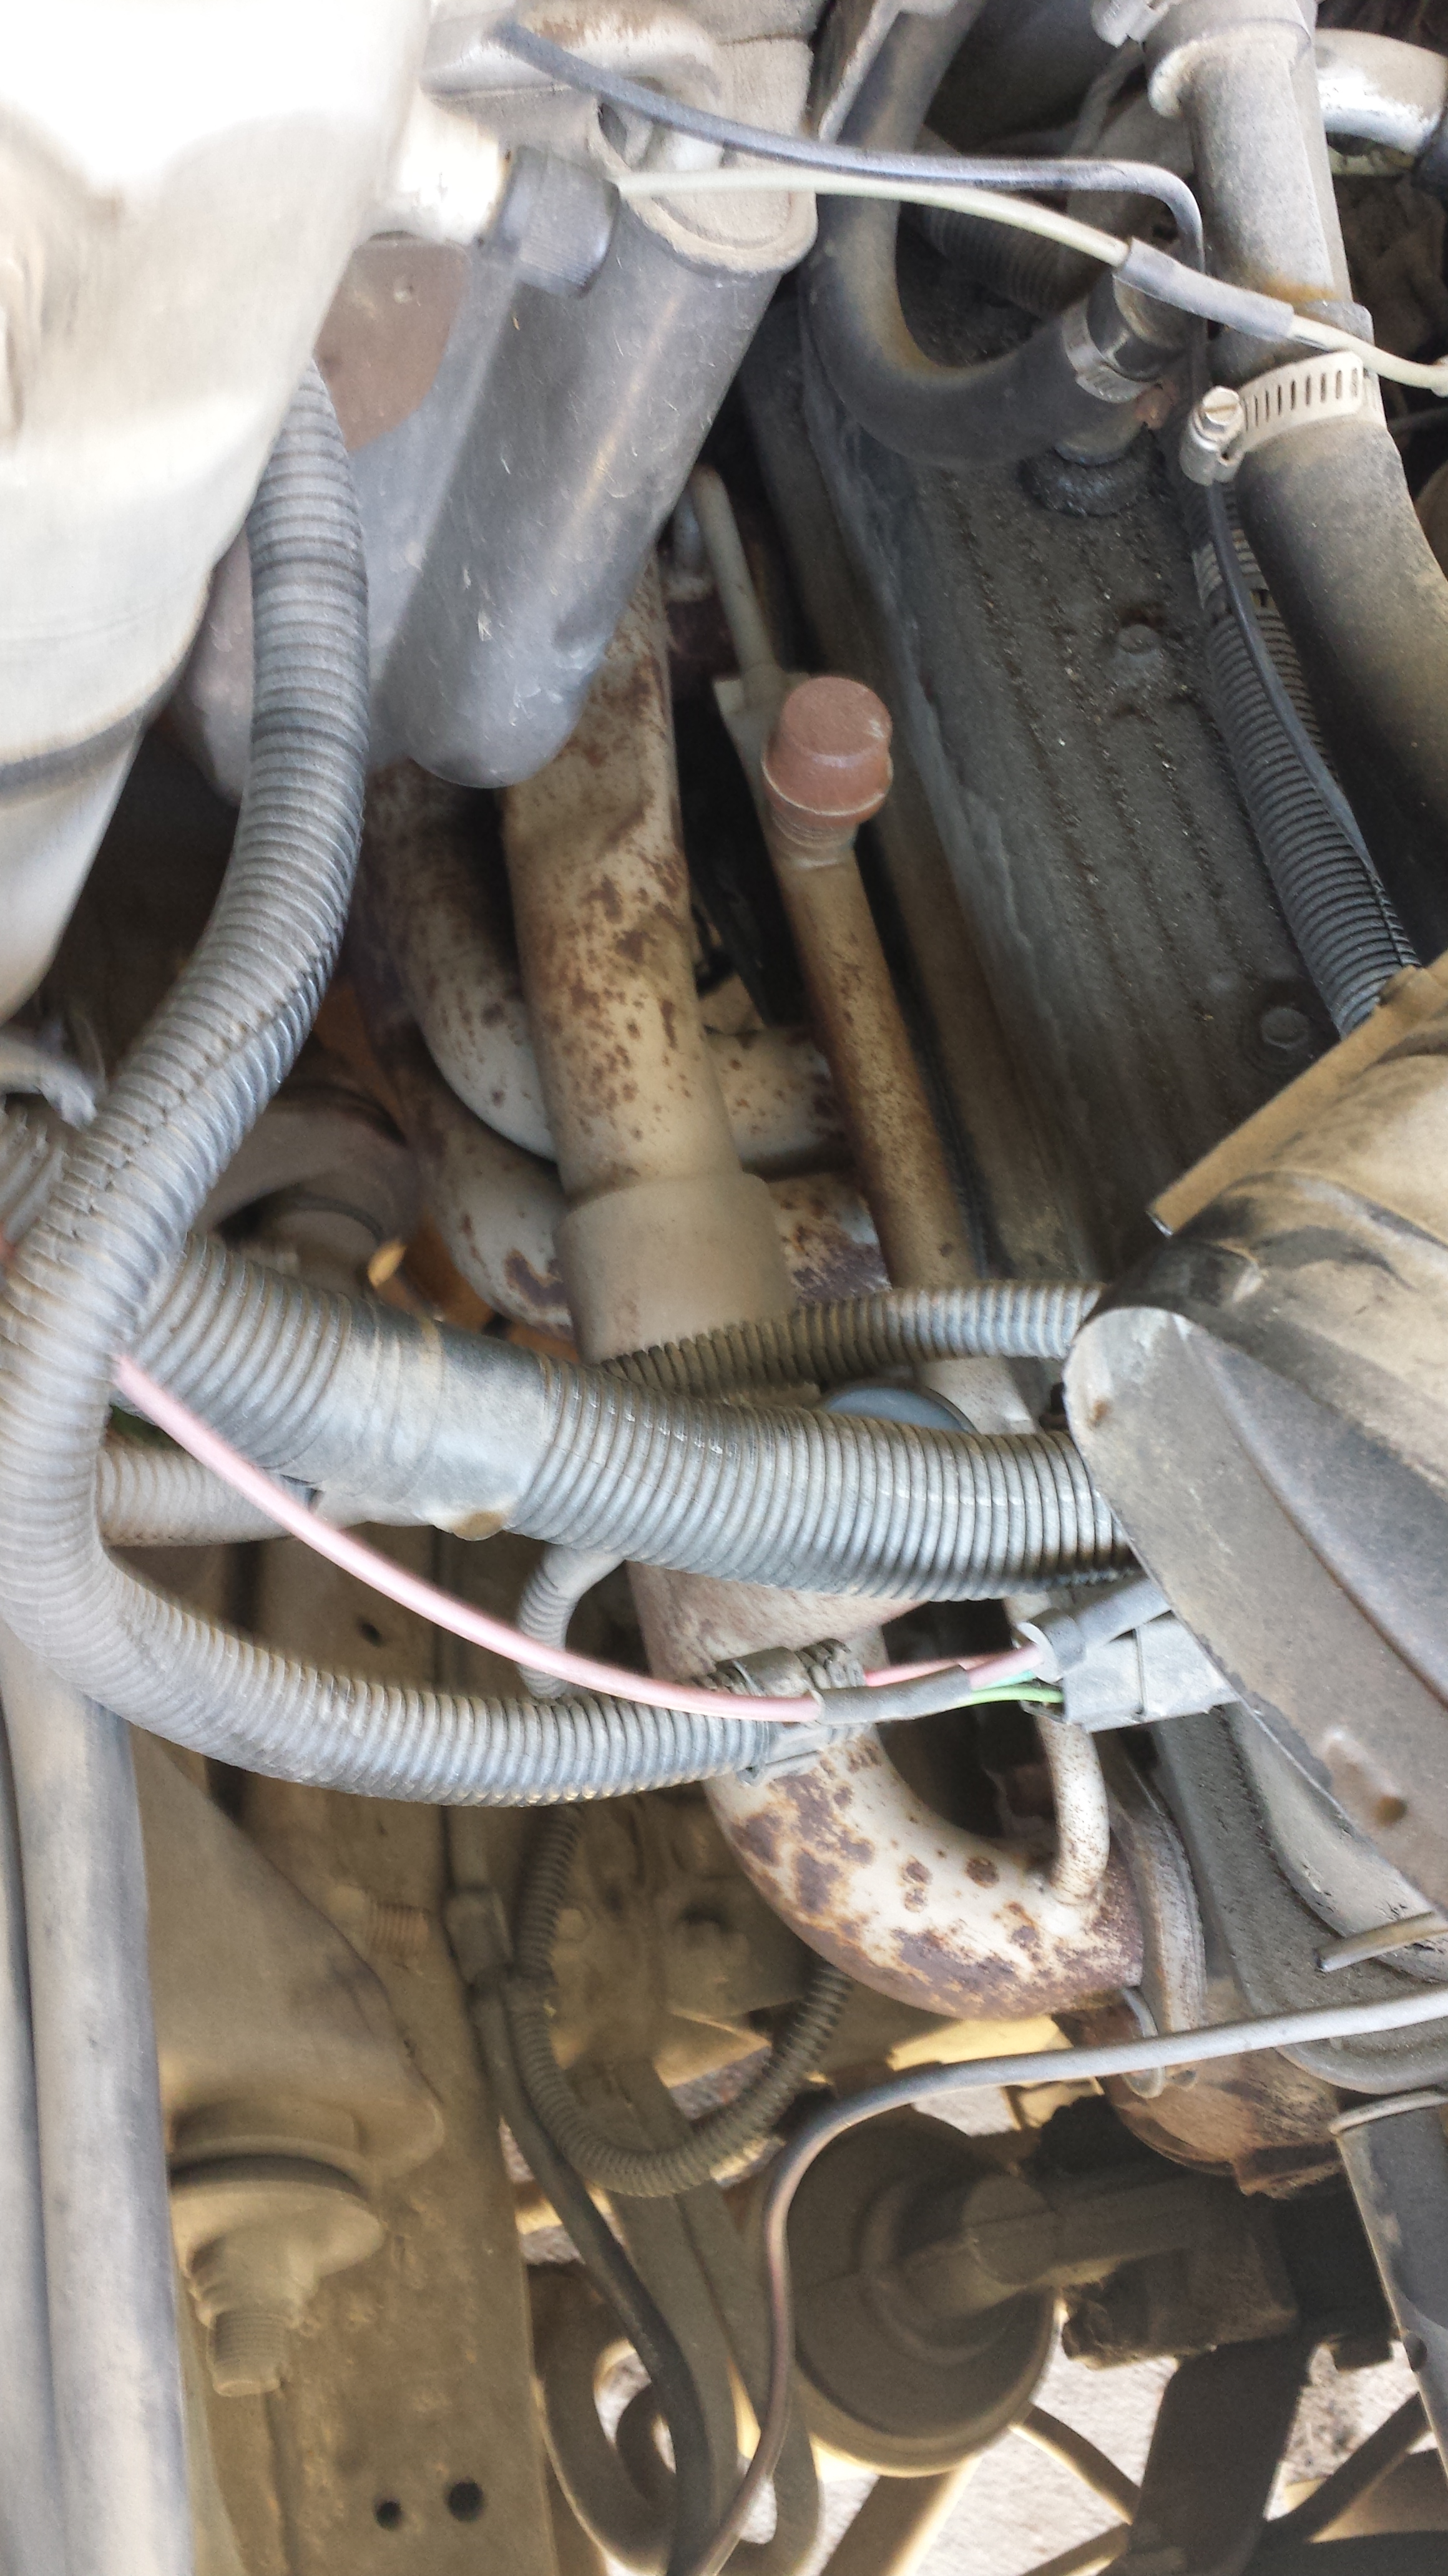
Passenger side. Rusty headers. These have been in the car since 2008 so they were possibly due to be recoated.
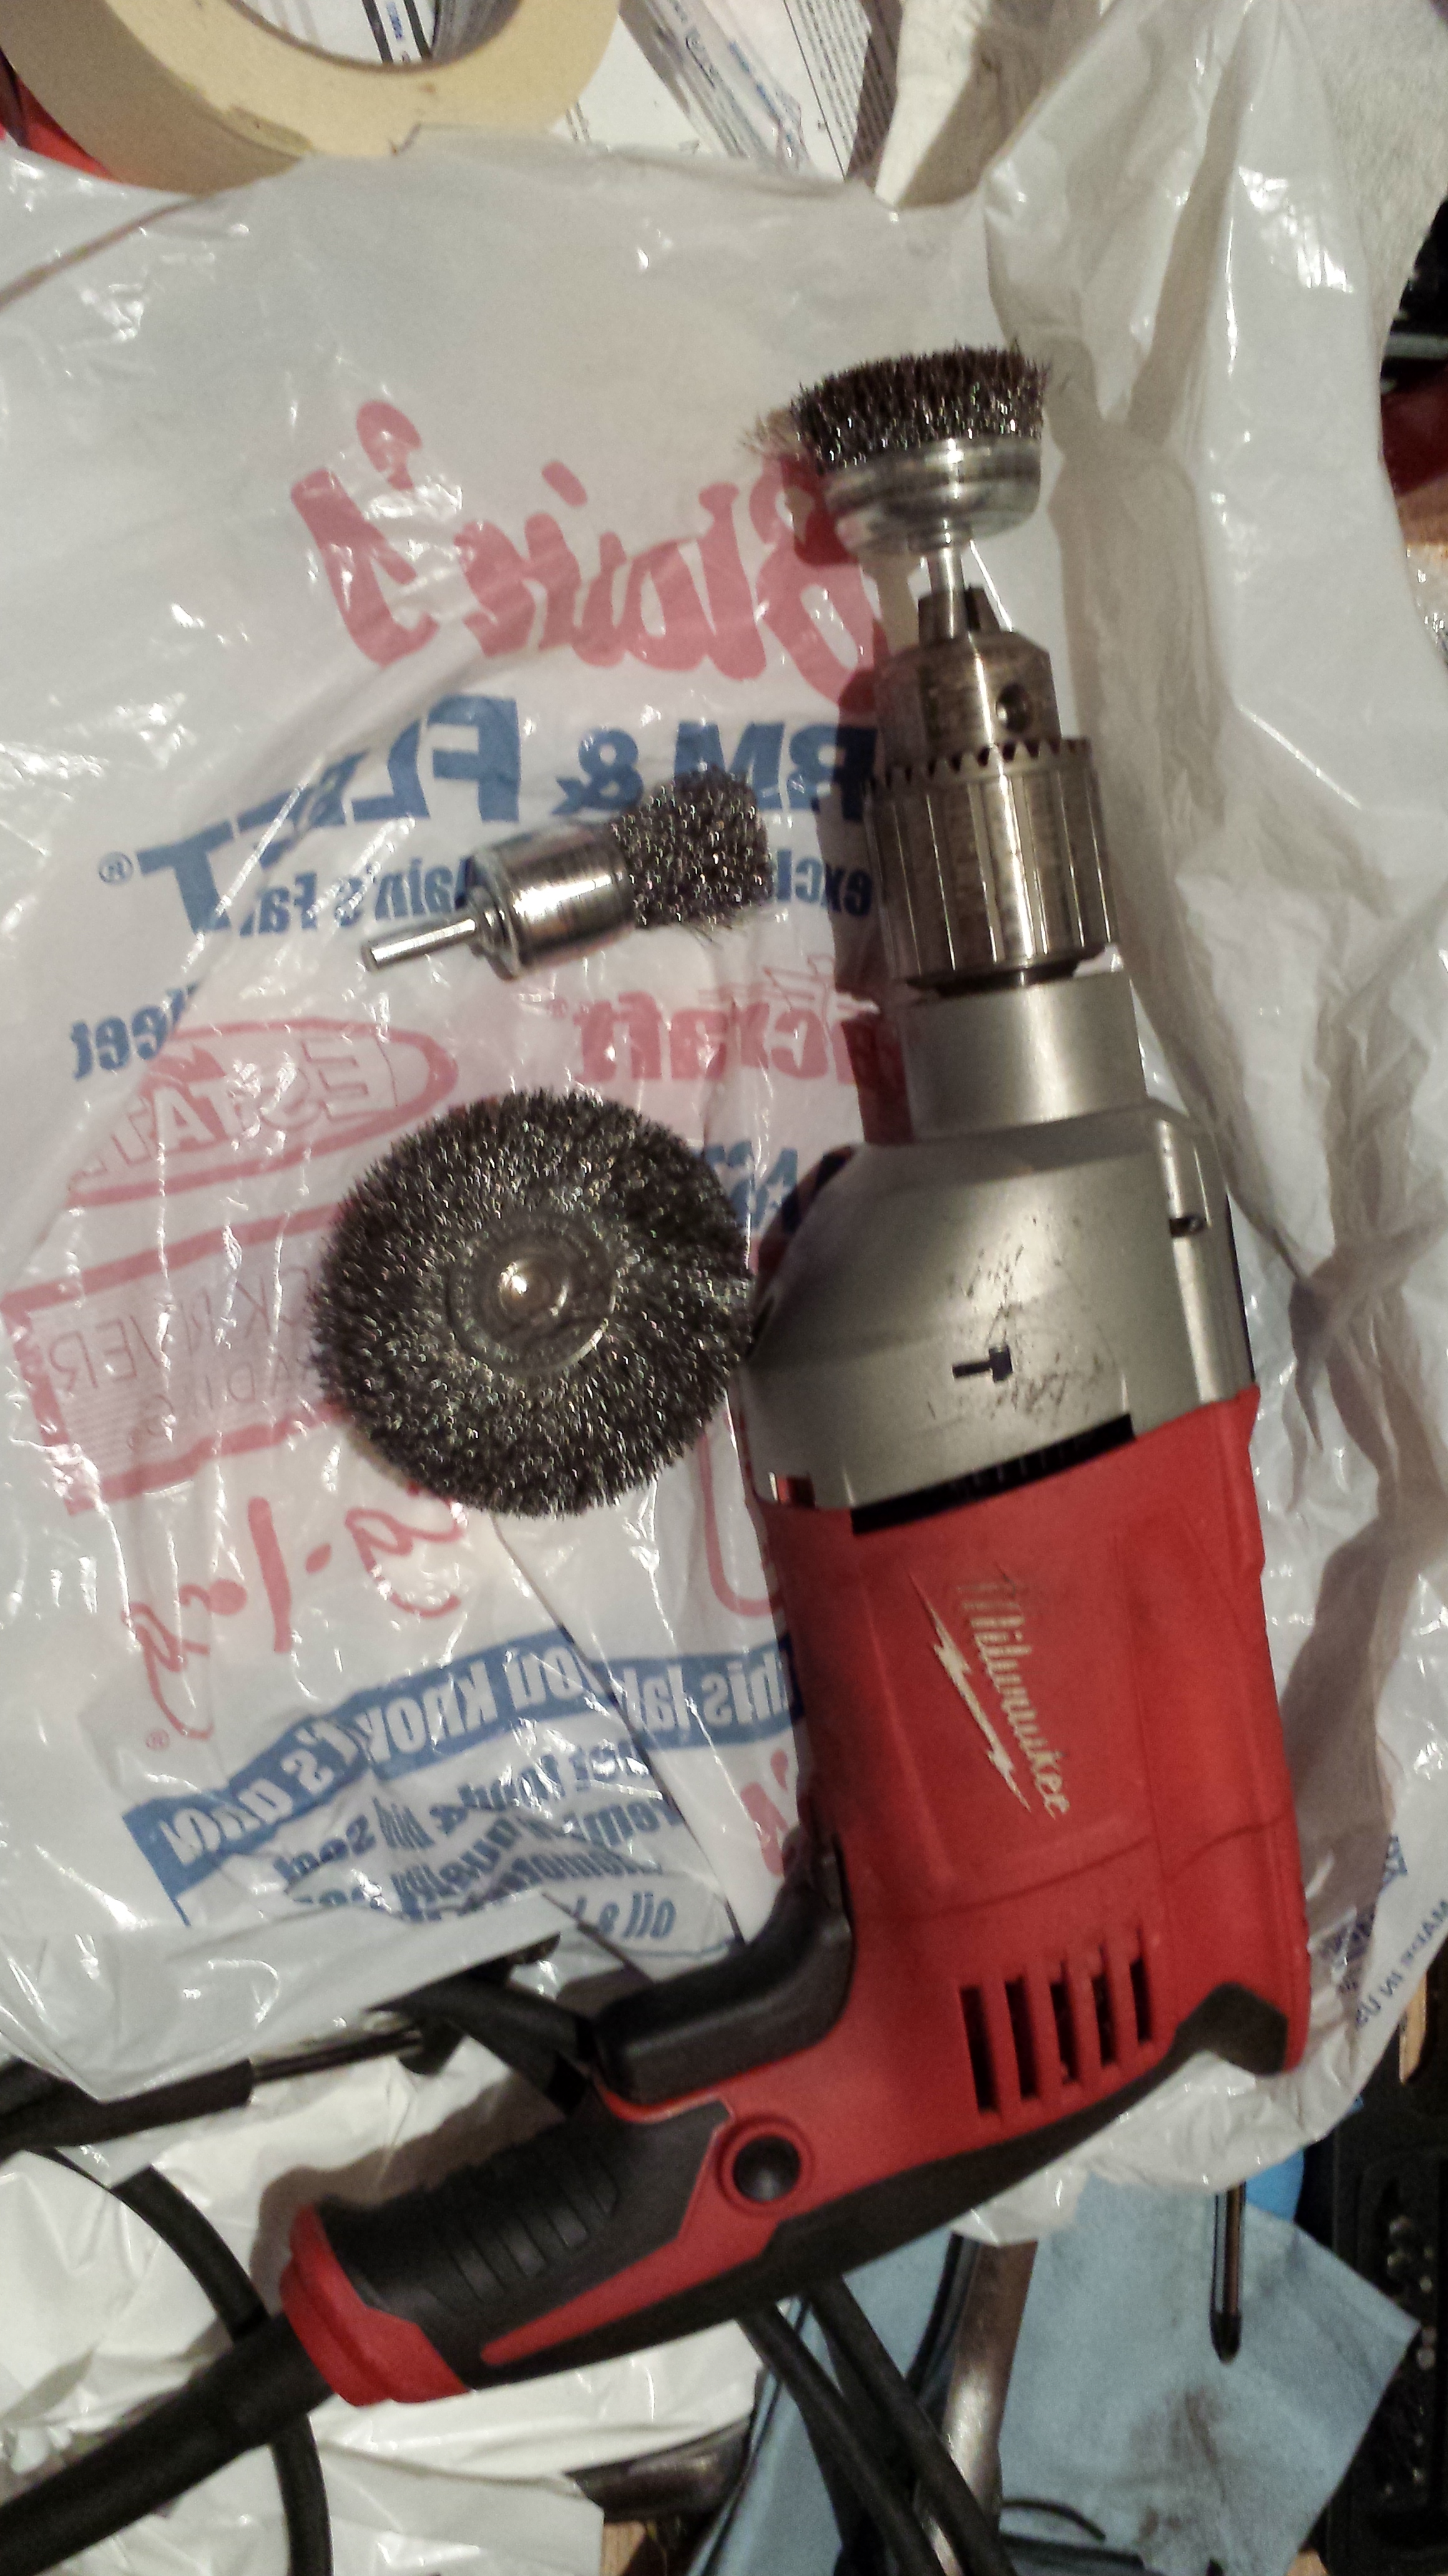
drill and wire wheels used to remove rust
After the headers are cleaned of paint and rust to bare metal they need to have any grease removed before they can be painted. Carb cleaner, paint thinner or acetone are good cleaners for grease. There are also specific grease removers for this. I used carb cleaner and and a new clean shop rag. After that, you can prime the bare metal headers. VHT sells a primer specifically for use with their paint. VHT Flame Proof is the specific brand they use for 1200-2000 degrees F. This is header specific coating. They also have lower temp paints for engine blocks and brake calipers or drums. I followed the directions on the can to apply 2 light coats 10 minutes apart and a medium coat. This makes it so all coats are tacky and you don’t have to sand in between them. Holding anything when painting it is difficult. I hung the parts from a nail on the wall, as seen in the picture. Wire from a rafter or cherry picker (engine lift) works also. Make sure to not get overspray on anything when painting! After the primer stage let dry for 24 hours at least. I lightly sanded the headers with 200 grit sandpaper then sprayed 3 coats of VHT Flame Proof paint. The VHT website is a bit confusing as they say there is not VHT Flame Proof primer, but the can specifically says use a VHT Flameproof primer, and I was able to buy VHT Flame Proof primer. The name primer was only on the bar code. It’s not on the label anywhere else. I’ll have to get in touch with VHT on this. Anyway, after VHT Flame Proof paint is applied, it needs to be cured. First it has to dry for at least 24 hours. After that it needs to be headed to cure. This can be done in an oven or on the engine with light running, letting the headers cool, and later a harder run to get them hotter.
http://www.speco.com.au/vht_faq.html
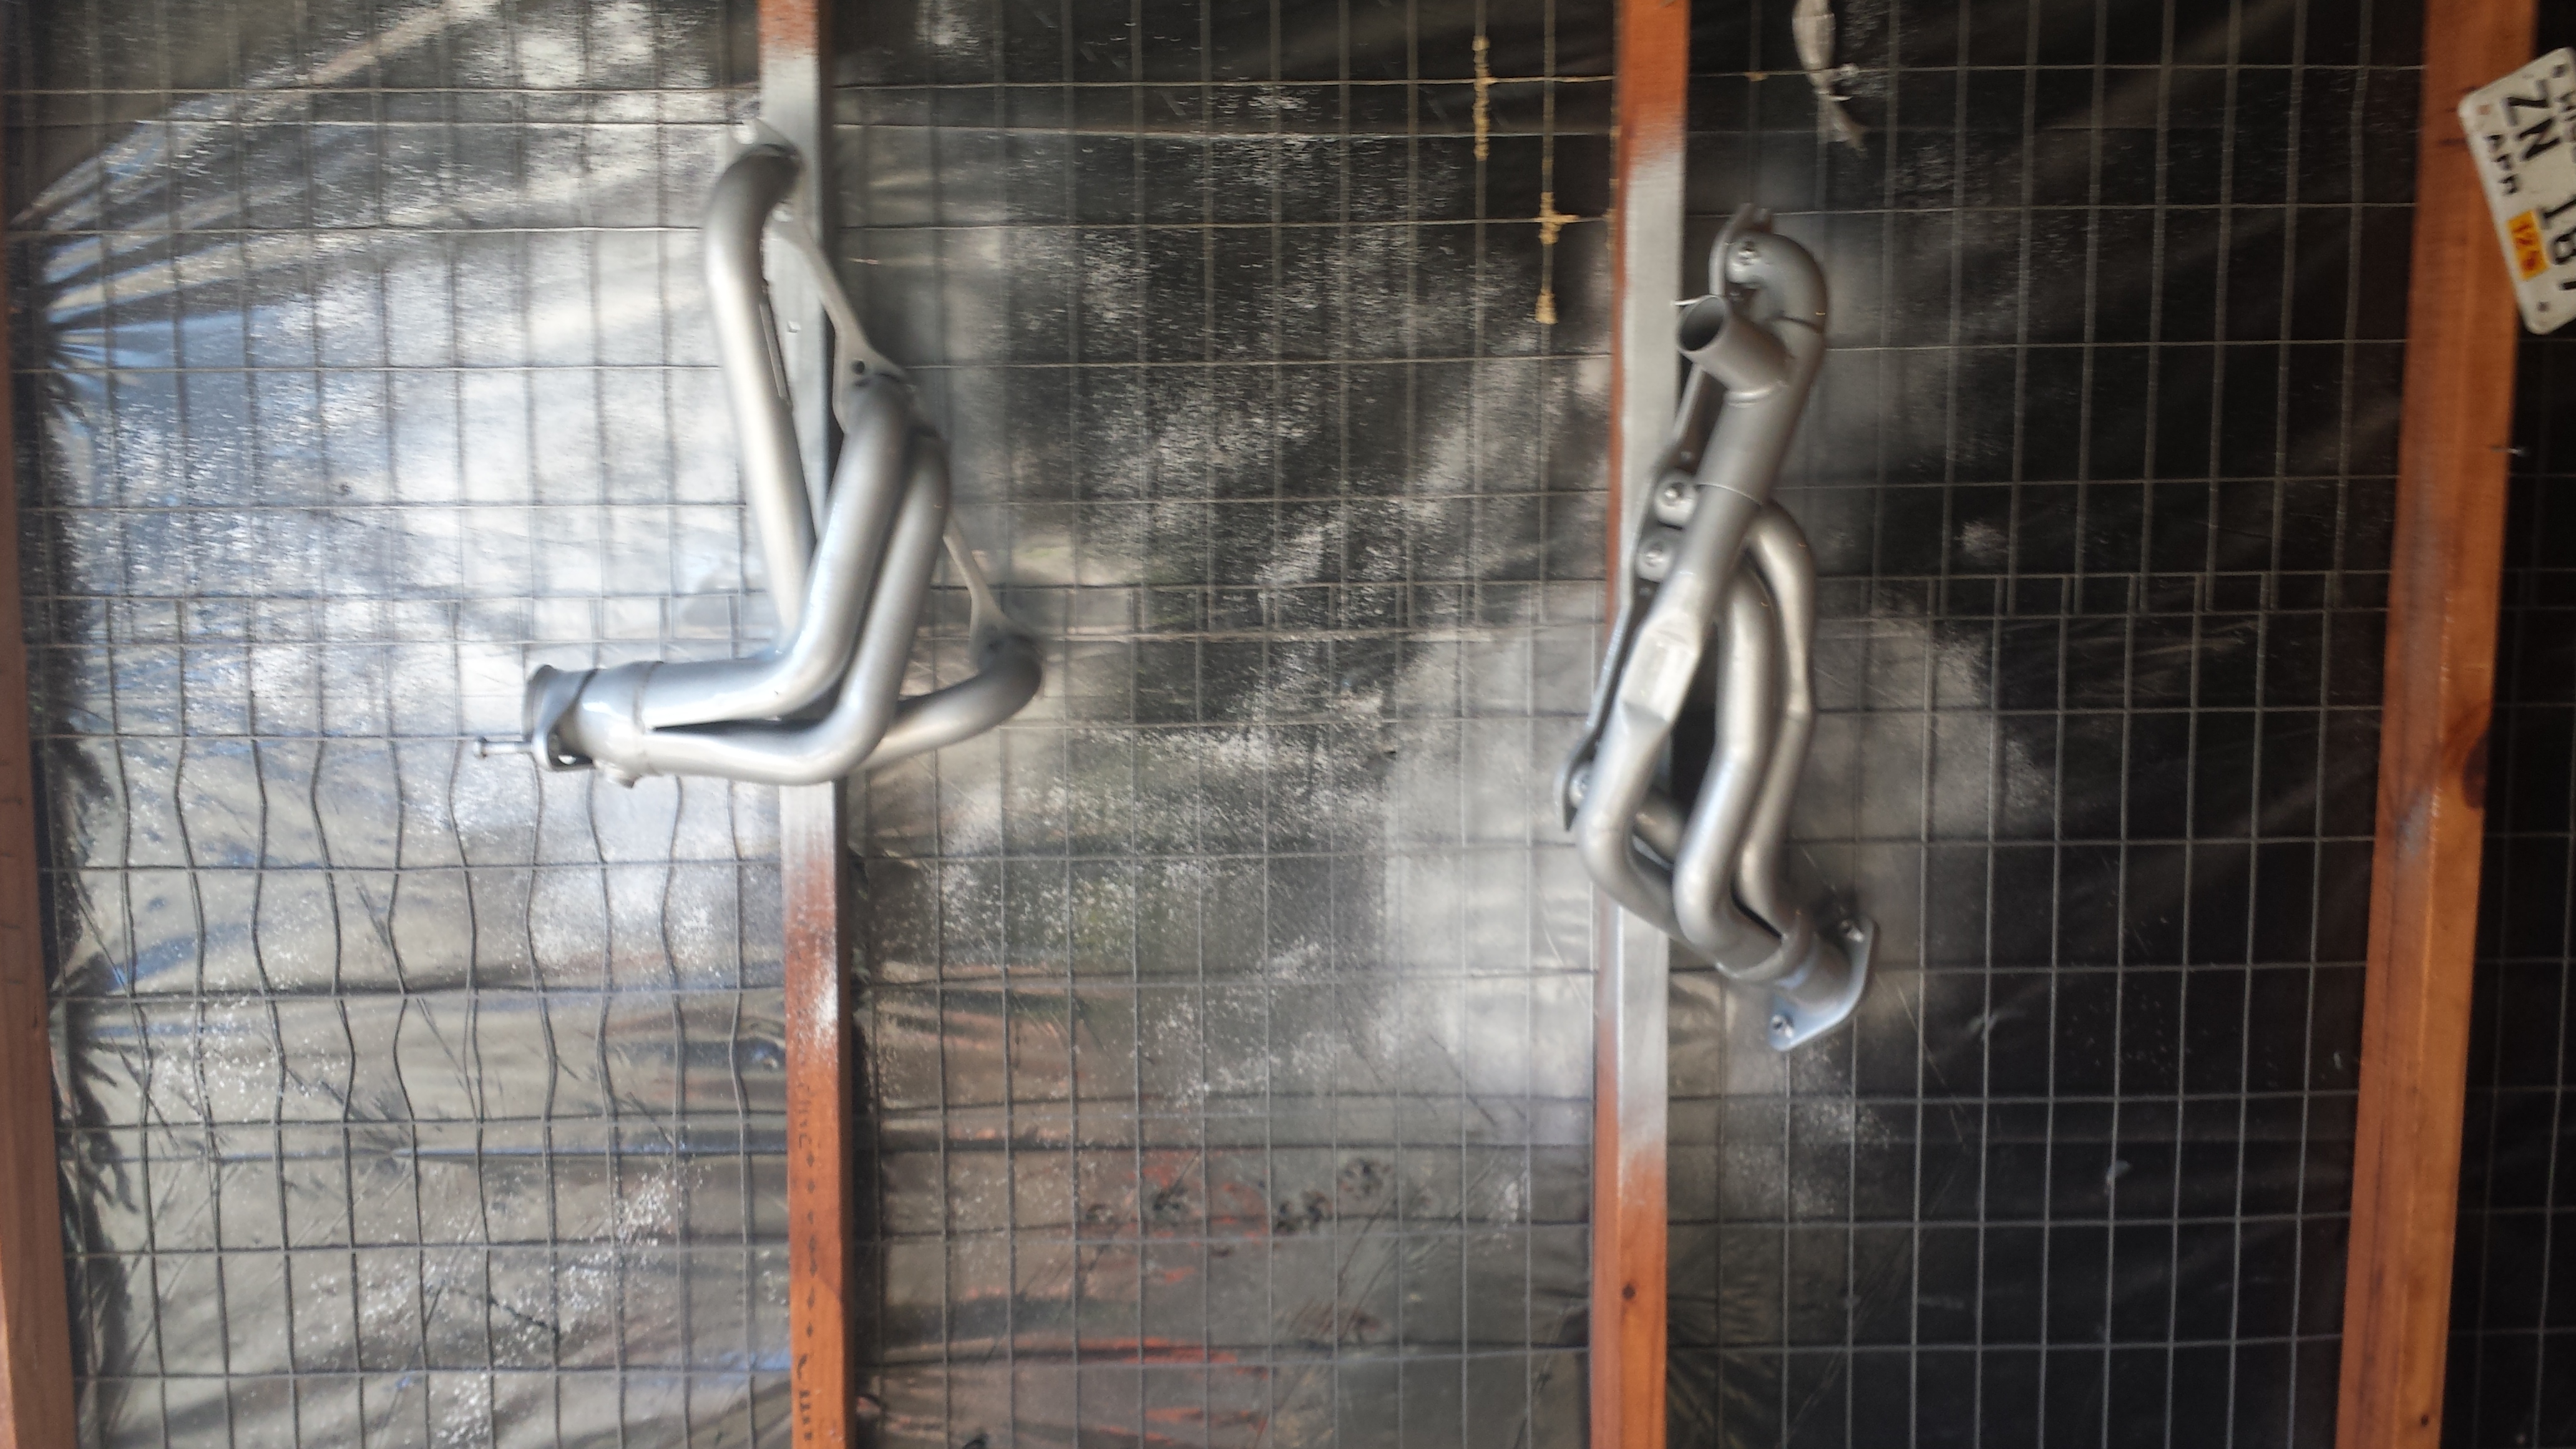
Headers hanging on the wall being painted. 3 coats seemed to be about right. I also had 2 coats of VHT primer.
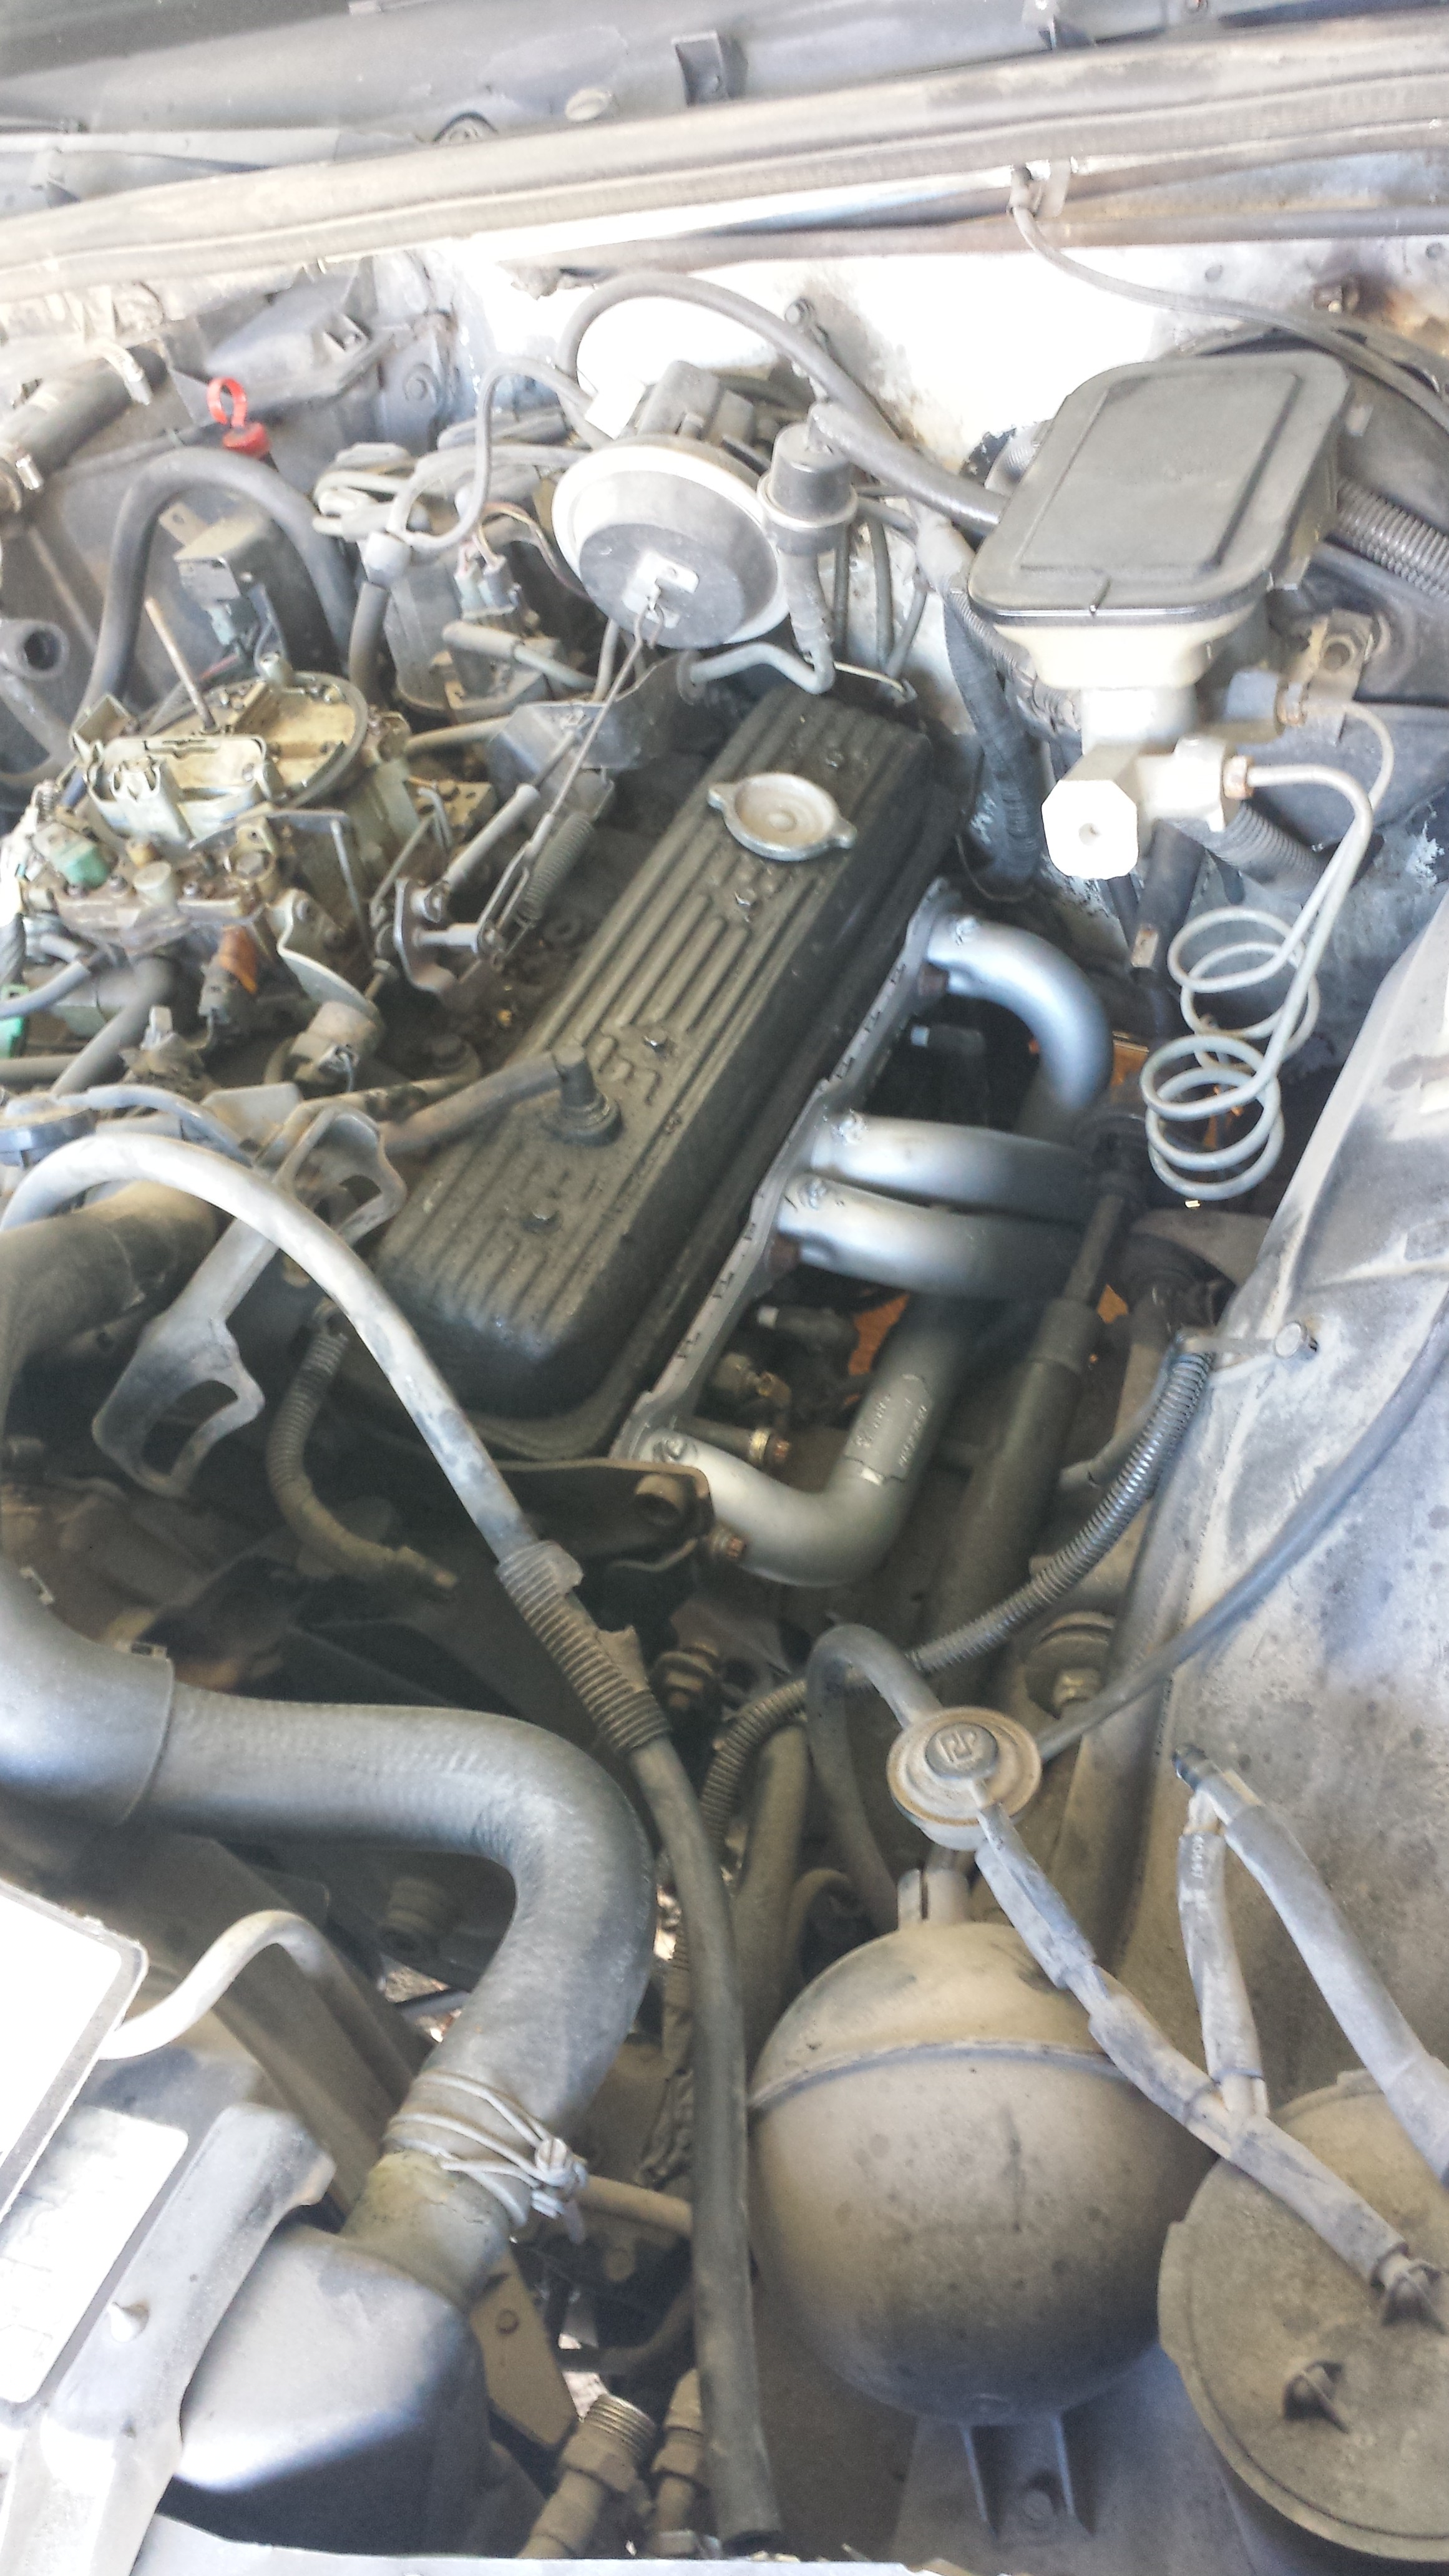
Headers after they have been cleaned and repainted, and re-installed. Don’t they look so much nicer? Also they should not rust away for some time! Disregard the dirty charcoal canister, radiator, inner fender wells and valve covers.
Well, hopefully you’ve learned a few things about headers in this article, and why you should buy them for your car, immediately.
Do you have a car with headers?
What was the first performance upgrade you did to your car if it wasn’t headers?
Keep the rubber side down! (Don’t forget to follow my blog (upper right, just type in your email and be sure to confirm once you get an email) so you don’t miss a new post!)
Also if you enjoy this, please share with your friends, on Facebook or in person even!

Very good ill give it a shot
I’ve read everything I could on refinishing my headers, Some of it conflicts with others! Right now
my full length tubes still have some old paint & flash rust after sitting for a year after soaking in
Evaporust. “CltriStrip” didn’t work on the old paint.I may try Naval Jelly next:it’s supposed to remove everything. Then a wirewheel next.
What vehicle are you refinishing headers for? Thanks for the feedback!